macOS
Compared to Windows, macOS collects less information about users and provides better security due to tight hardware and software control. Nevertheless, default settings do not provide the necessary level of security.
Macs running on Intel do not meet modern security requirements. It is recommended to use Macs with Apple Silicon (M1/M2/M3+).
Prerequisites
- Install FOI Security Policy
- The profile will configure the main part of the security settings and its installation is necessary before following the instructions on this page.
- Install a Password Manager
- We will store all passwords or keys created through the instructions on this page in the Password Manager
Make sure your device receives updates!
Operating system updates are critically important.
If you are not using the latest version of your operating system, your device is not considered secure!
Make sure your device receives updates and is running the latest version.
If your device no longer receives updates, it must be replaced!
FOI Security Policy
Be sure to install FOI Security Policy. It will automatically configure most security settings.
FileVault
FileVault is a macOS feature that protects your files by encrypting them. It transforms data into a format that others cannot read unless they have a special key to unlock it.
Enabling FileVault
- Go to System Preferences > Privacy & Security > FileVault
-
Click Turn on FileVault
If FileVault is already enabled
If FileVault is already enabled, turn it off (Turn off FileVault) and re-enable it, because the Recovery Key may be stored on iCloud, or you may have lost it.
-
Select Create a recovery key and do not use my iCloud account and click Continue
- Store the provided Recovery Key in Bitwarden. This key is critically important!
- On another device you own, open Bitwarden and verify that the key is saved and matches what you see on your screen.
Do not store the Recovery Key on iCloud!
Store the Recovery Key in Bitwarden. This key is critically important. It is a backup key that you can use to unlock your files if you ever forget your password or another problem occurs. If you lose it, you will permanently lose access to your files.
Make sure to save the Recovery Key at the creation step in Bitwarden and not on iCloud!
Creating a special user for disk decryption
By default, any user on your Mac can decrypt (unlock) the disk with their password. Since these passwords are frequently entered and may accidentally leak, it is necessary to create a special user account that will be the only one who can "unlock" the disk.
This special user, which we will call "unlock", should be used only in two cases:
- After restarting the Mac.
- When installing system updates.
Creating the special user:
-
Go to
 System Settings > Users & Groups > Add User
Start creating an Administrator type user
In the Full Name and Account Name fields, type:
unlock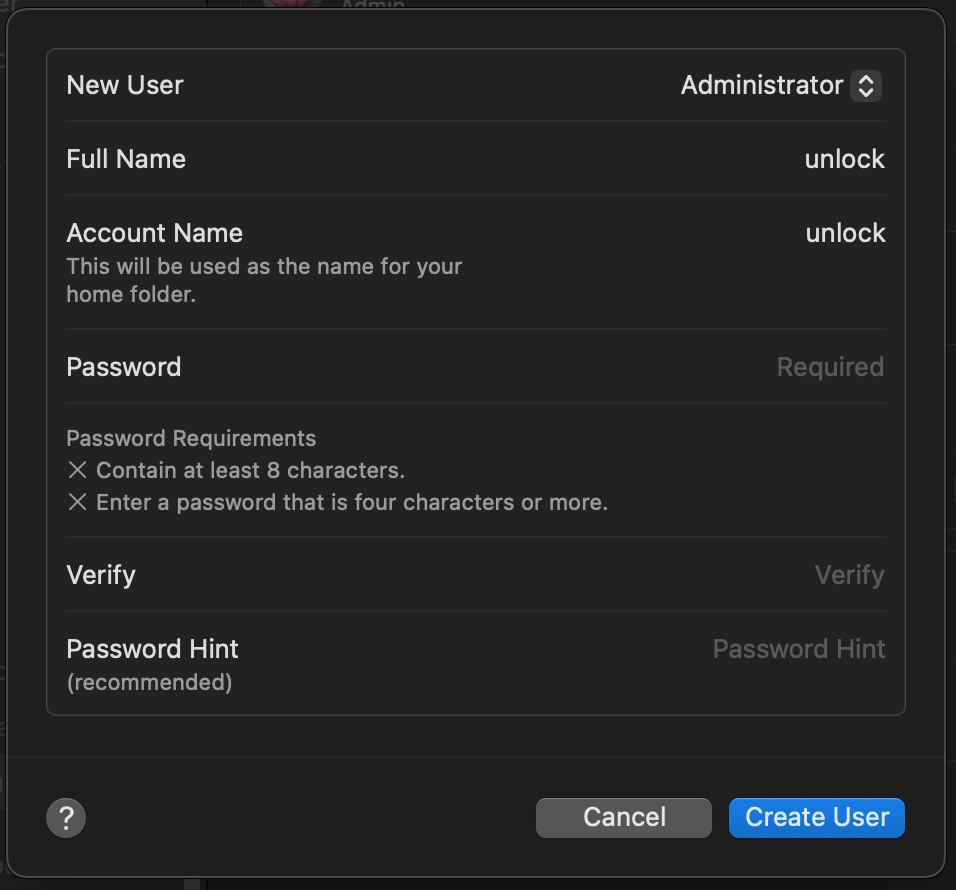
-
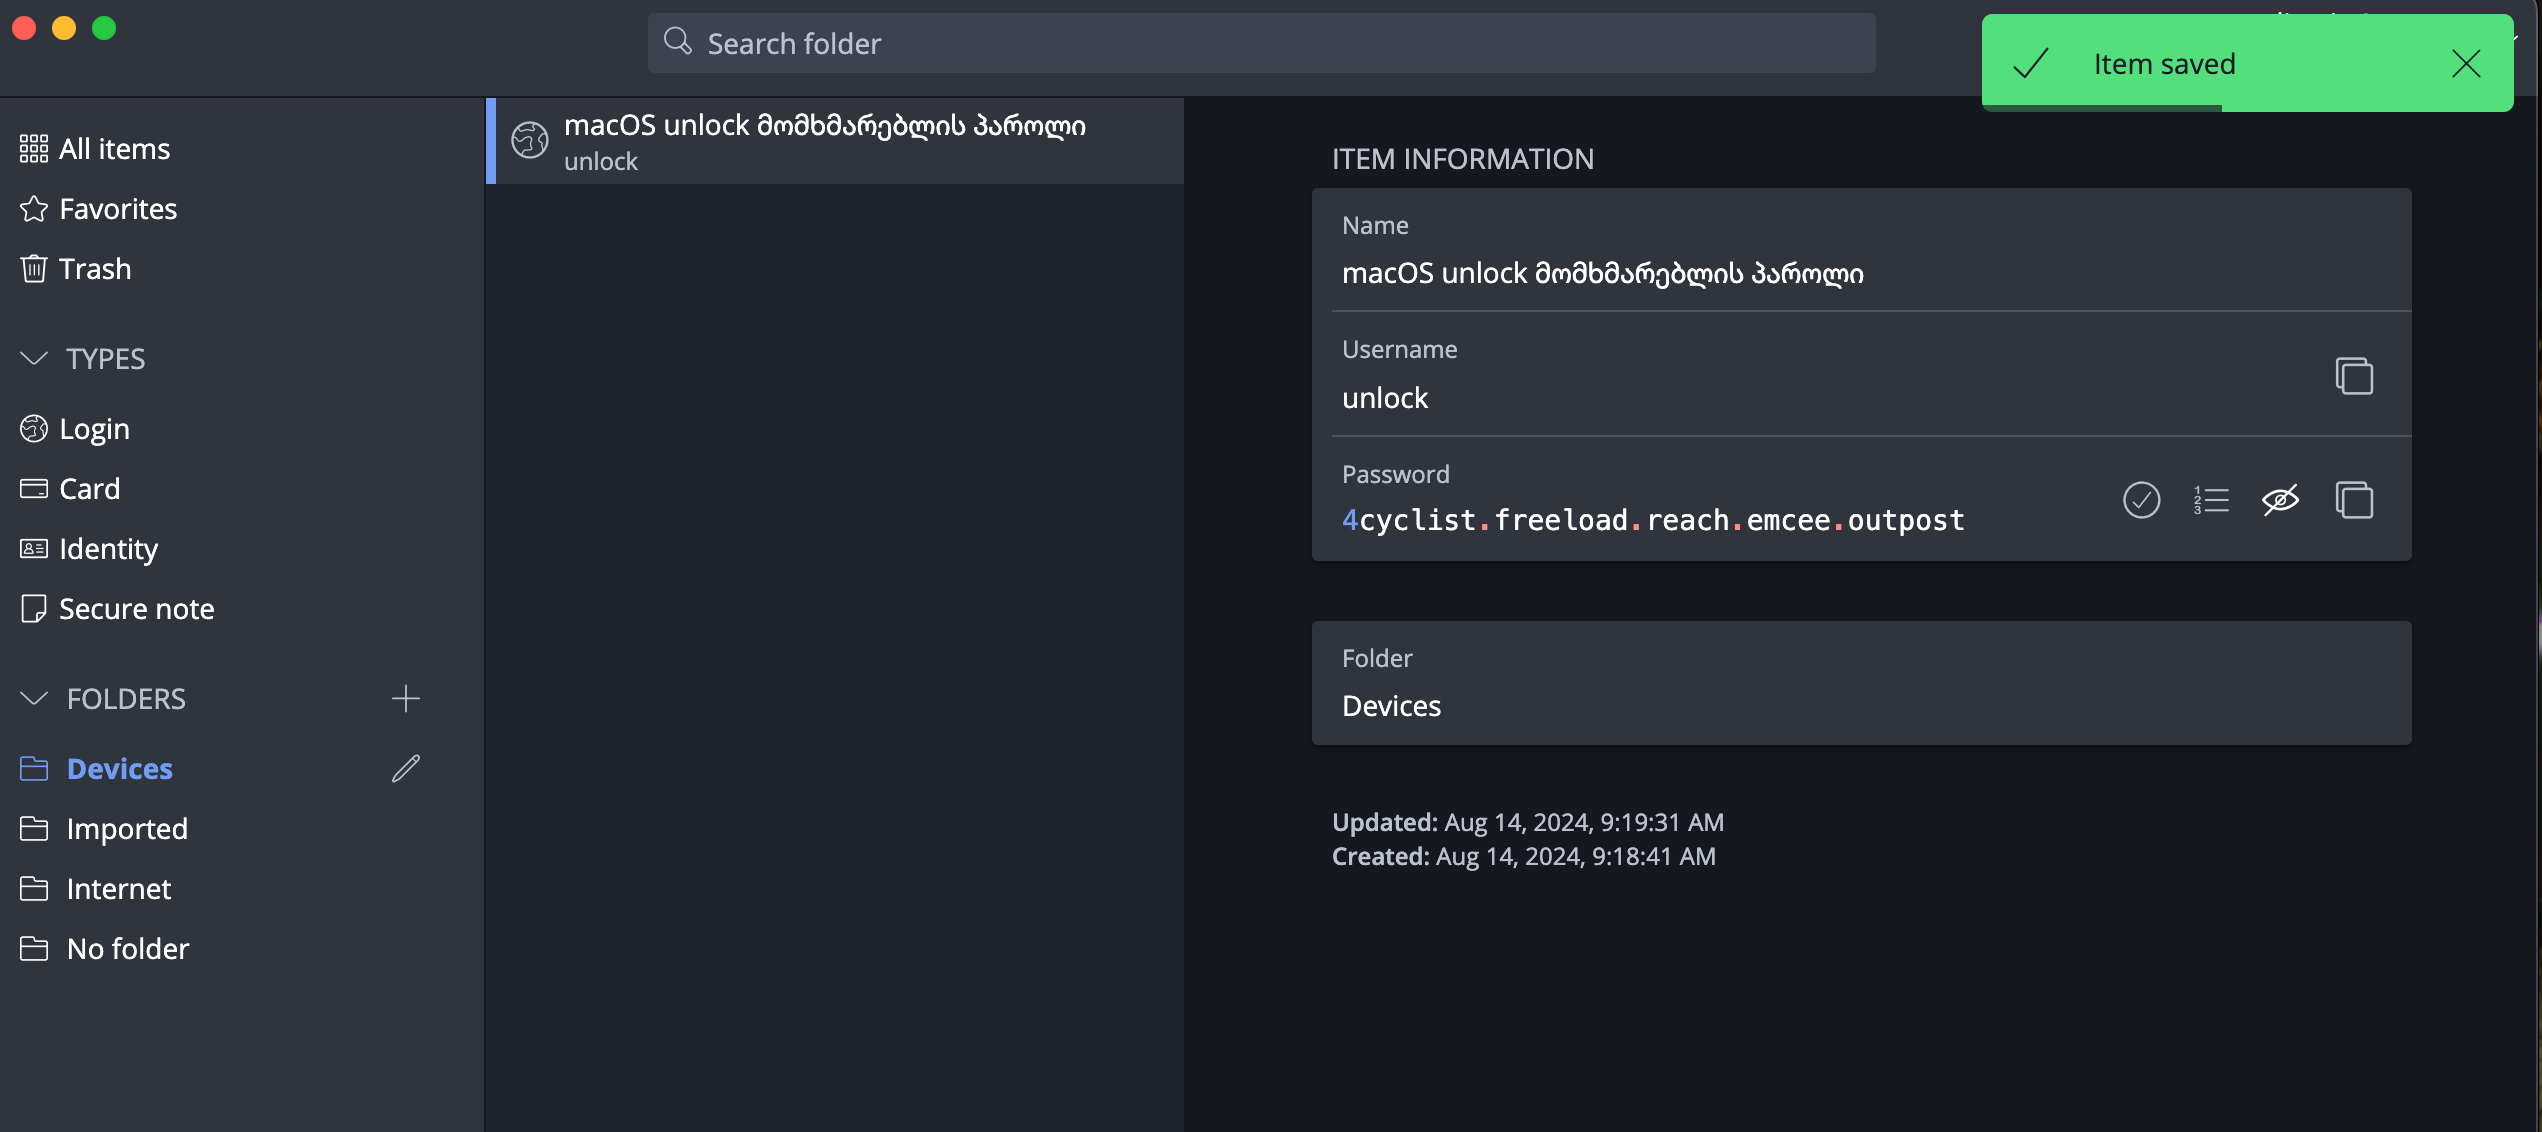
With the FOI Password Generator, generate a macOS (admin/unlock) type password and save it in Bitwarden.
Warning
Do not use the password shown in the example!
-
Make sure you can view this password in Bitwarden on your mobile device, you will need it in the following steps.
- When creating the user, enter this password in both the Password and Verify fields. Leave the Password Hint field empty and click Create User.
-
Log out of your current user > Log Out, log into the
unlockuser and complete the user configuration following the on-screen instructionsTip
When logging into the
unlockuser for the first time, the system will offer to set up various features (e.g., Screen Time, iCloud, etc.).Skip all options that can be skipped.
Do not set up fingerprint on this user and do not enter iCloud.
-
Open the Terminal application and run the following command to restrict FileVault access to only the
unlockuser: -
Select option [1] Enforce FileVault User by typing the corresponding number and press Enter.
-
When the system asks for a password, enter the
unlockuser's password and press Enter.Tip
Note that when entering a password in the terminal, the typing process will not be visible
-
Upon successful completion, you will receive the following message:
-
Log out of the
unlockuser ( > Log Out unlock) and return to your user profile.
What happens next?
After each system restart, you will notice that your user accounts do not
appear at all and you will only see the unlock user. The reason is that until
you enter the unlock password once, your user's existence
is still unknown to the system, because disk decryption has not occurred and the system doesn't yet know
that a user other than unlock exists, nor does it have access to their files.
After entering the unlock user's password once, FileVault will begin the disk
decryption process and after that, your standard users will also appear in the list.
Log out unlock
If the system has logged you into the unlock user account, be sure to log out ( > Log Out unlock) and then log into your standard user.
Do not use this user for other purposes!
The unlock user should be used only in two cases:
- After restarting the device, you will enter its password once, then switch to your personal user.
- When updating the operating system
Remember that you always log out of the unlock user using > Log Out unlock
It cannot be used for other purposes!
Remember
The device is protected by encryption only when it is fully powered off!
In case of a threat, power off the device using > Shut Down.
Changing the standard user's password
In addition to adding the unlock user, it is necessary to change your standard user's password as well.
-
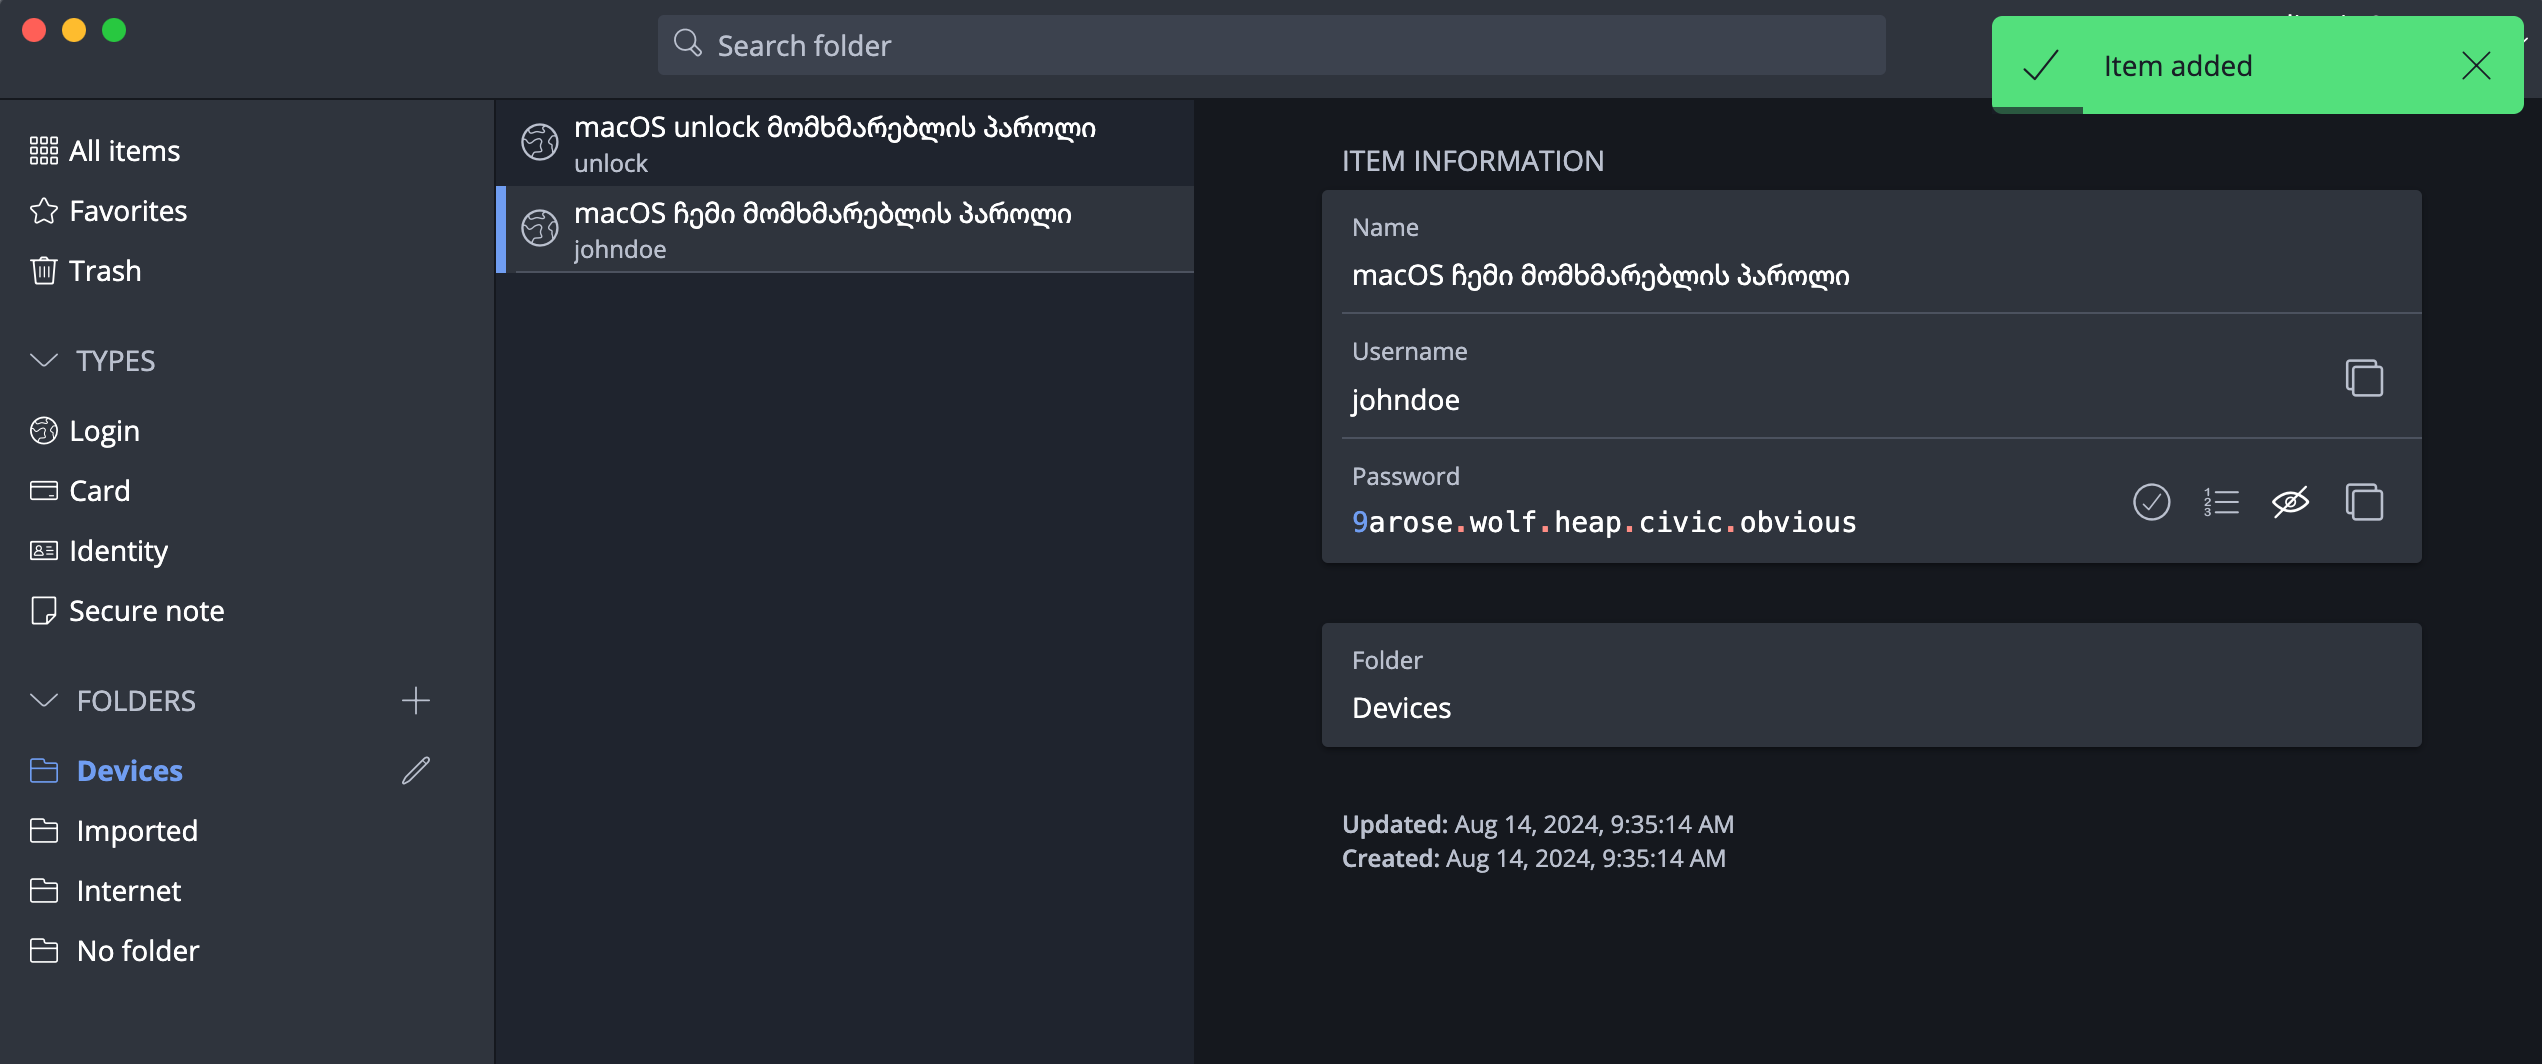
With the FOI Password Generator, generate a macOS (user) type password and save it in Bitwarden.
Warning
Do not use the password shown in the example!
-
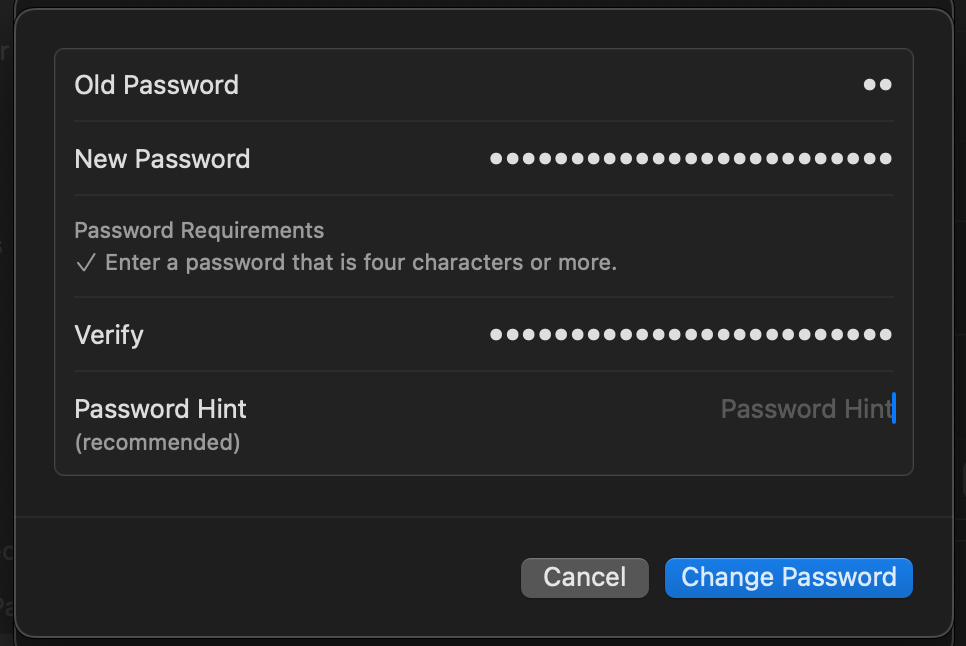
Return to the user list, click the (i) button next to your username > Change Password.
System Settings > Users & Groups
Touch ID
Use Biometric Authentication
Disabling Face ID / Touch ID (iOS/macOS) or fingerprint (Android) not only significantly reduces convenience but also pushes you toward using a simpler password
This also increases the risk of password exposure, since you will need to enter it more frequently in public spaces
Your device's security depends on the strength of its password. Especially when the device is powered off
After powering on from a shut-down state, Biometric Authentication won't work anyway until you enter the password at least once
Therefore, it is better to use a strong password combined with Biometric Authentication, and in case of a threat, simply power off the device
For additional security, FOI Security Policy will require password entry at least once every 8 hours.
- System Preferences > Touch ID & Password
- Add a fingerprint
- Set the following options
- Use Touch ID to unlock your Mac
- Use Touch ID for Apple Pay
- Use Touch ID for purchases in iTunes & App Store
- Use Touch ID for autofilling passwords
- Use Touch ID for fast user switching
Tip
After 5 failed fingerprint attempts, macOS will necessarily require a password. To avoid forced fingerprint submission, you can add only one finger and during coercion use any other finger 5 times "incorrectly" ;)
Remember: most users use their index or thumb finger, and a smart attacker might not be fooled by — for example — a pinky finger attempt.
iCloud
iCloud Data Encryption
MacBook / iPhone devices have a function to encrypt data on the device, but despite this, by default, data stored on iCloud is not encrypted. This means that Apple or third parties only need access to your iCloud account to collect your data.
It should be noted that Apple, as part of cooperation with governments, will hand over information stored on iCloud to relevant authorities upon request.
By enabling Advanced Data Protection, iCloud data will be encrypted with your unique password, which we will store in Bitwarden.
Instructions:
Risk of data loss
If you lose the Recovery Key, data stored on iCloud will be lost! Recovery will be impossible. Be sure to store the Recovery Key in Bitwarden.
- System Preferences > iCloud > Advanced Data Protection > Turn on.
- In Recovery Options, select only (!) recovery key.
- Store the Recovery key in Bitwarden and continue the process.
- The system will ask you to enter this key. Open Bitwarden on another device you own to make sure the key is truly saved and enter it manually.
Operating system updates
Make sure automatic updates are enabled. Never postpone an update!
- System Preferences > General > Automatic Updates
- Enable Download new updates when available
- Enable Install MacOS Updates
- Enable Install app updates from the App Store
- Enable Install security responses and system files
Disable Allow user to reset password using Apple ID on all user accounts.
Next steps
- Choose your mobile operating system and continue with its setup: